Introduction
The Esri India Solution Deployment process enables users to quickly access, configure, and deploy ready-to-use GIS solutions within their organization’s portal. By following the steps below, users can explore available solutions, review their details, and deploy them efficiently.
Prerequisites
- ArcGIS Enterprise needs to be installed and configured with SSL. ArcGIS Server needs to be specified as Hosting Server. Please refer to below link for more details:
Configure a hosting server - ArcGIS Pro needs to be installed to Create Data and Publish/Overwrite Services to ArcGIS Enterprise
Deployment Tool
Use the provided link to access the Deployment Tool.
Esri India Solution Deployment tool
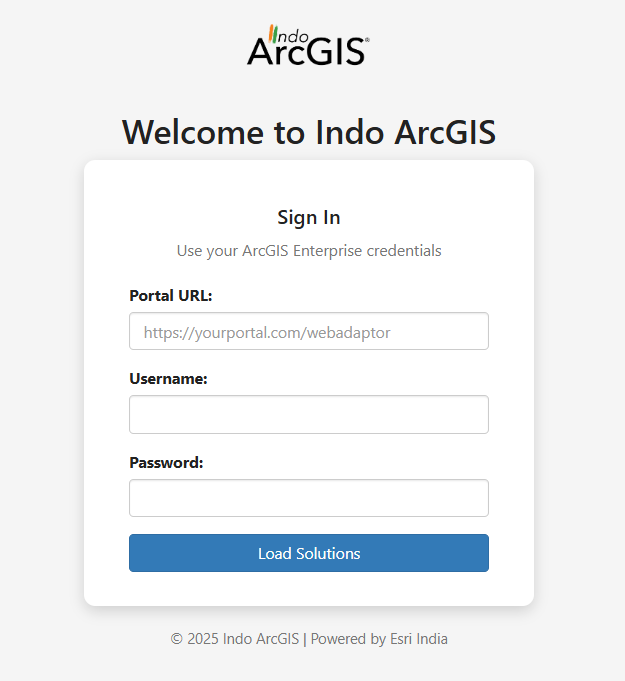
Input
- Portal URL: Enter the URL of the ArcGIS Portal in the following format: https://webadaptorhost.domain.com/webadaptorname
- Username: Enter the Username.
- Password: Enter the Password.
- Provide all the required inputs and click the Load Solutions button to execute the tool.
Additional Steps
If your application shows a CORS (Cross-Origin Resource Sharing) error, follow these steps to whitelist your domain in ArcGIS Enterprise:- Sign in to Portal for ArcGIS as an administrator.
- Go to Organization → Settings → Security.
- Scroll down to Allow Origins.
- Add the domain hosting your web application, for example: https://indiasolutions.esritech.in
- Click Add Domain, then click Save.
- This will resolve CORS issues for requests coming from your application.
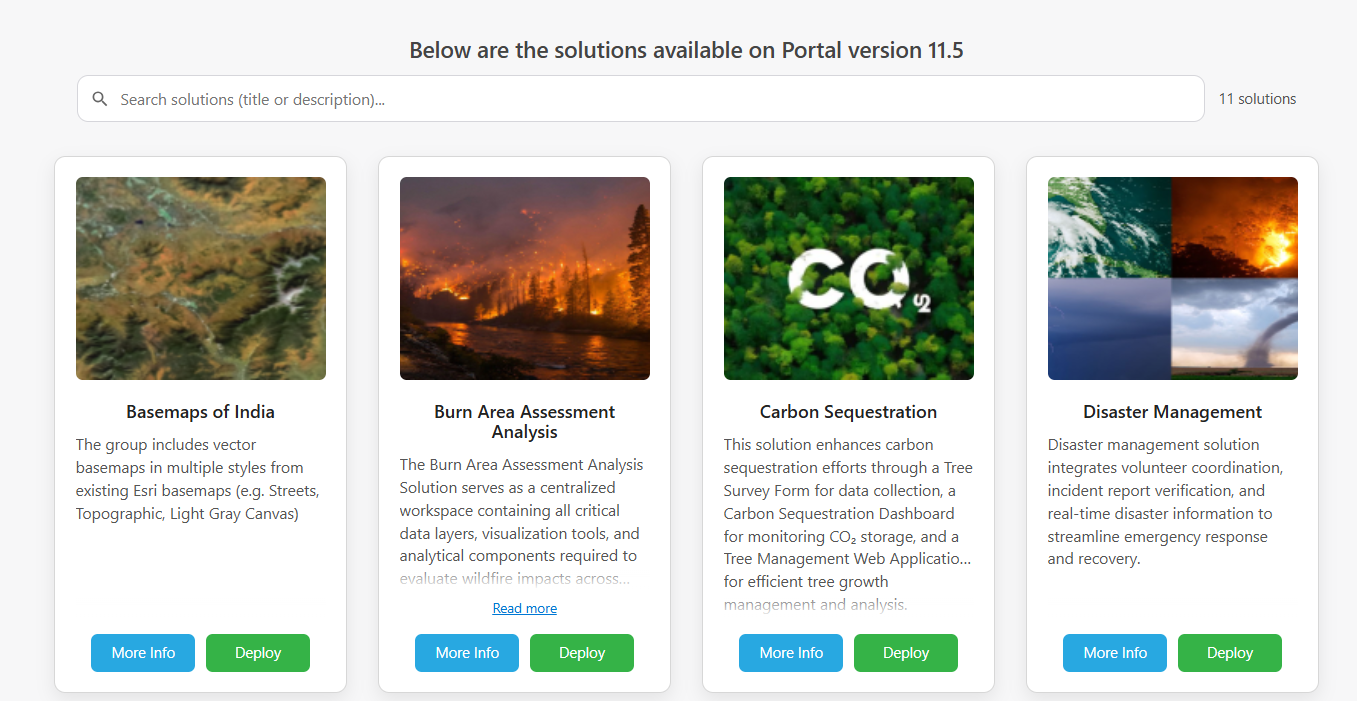
Deploy Solution Products
- This Page loads the list of available solutions for deployment.
- Click the More Info button to view detailed information about a specific solution.
- Under More Info, users can click Learn More to access the help documentation for the respective solution.
- Click the Deploy button corresponding to the desired solution.
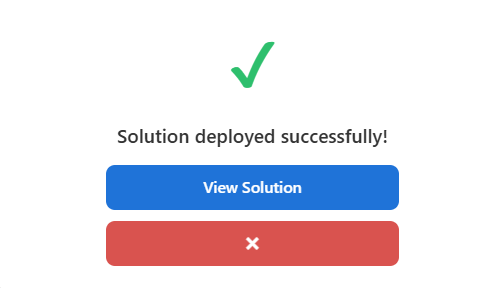
- Once the deployment is complete, a “Deployment Successful” prompt will appear.
- Click the View Solution button to open the deployed solution.
- The portal will display the deployed solution, organized within folders named after the solution.